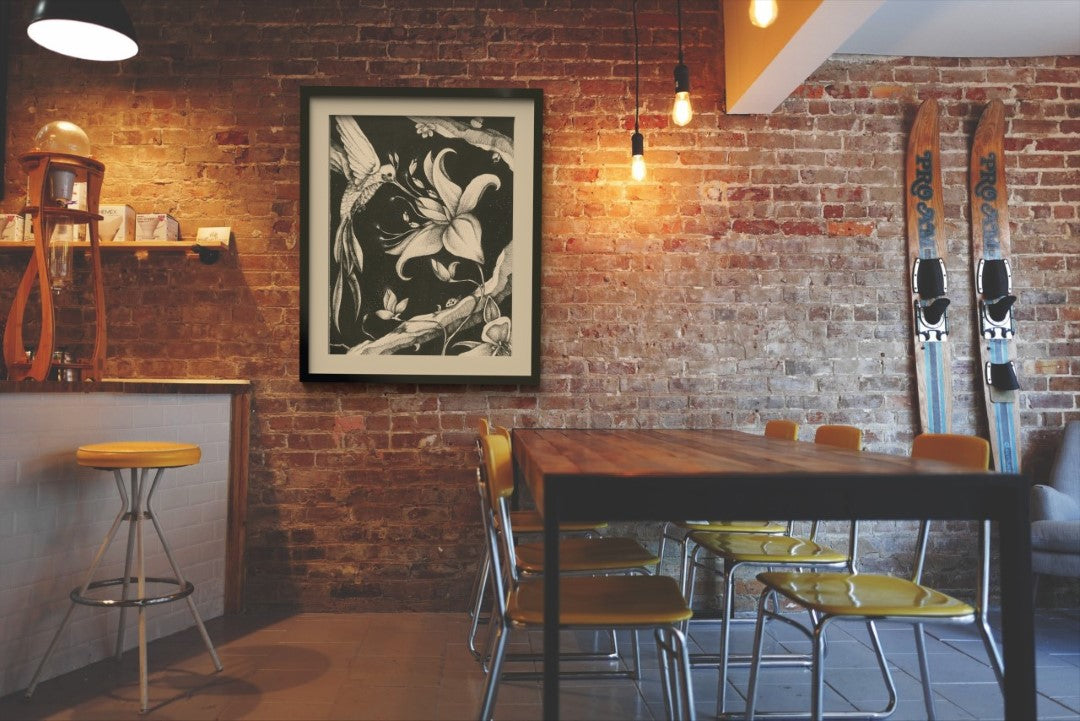
Framing Guide:
Framing is an important step in showcasing your artwork or prints. It not only protects your artwork but also enhances its overall appearance. There are various framing methods to choose from, each with its own pros and cons. Below are the different framing methods and provide you with instructions on how to use them.
Know the dimensions of your Print / Artwork
Before you can even start thinking about what kind of frame you would like to use to display your new print or artwork, it is important for you to know the dimensions of your new print or artwork. This will make it significantly easier for you to shop for a matching frame.
Please see below for a handy quick reference guide:
| Length (mm) | Width (mm) | Weight (160gsm) | |
|---|---|---|---|
| A5 | 215mm | 150mm | 5g |
| A4 | 297mm | 210mm | 10g |
| A3 | 420mm | 297mm | 20g |
| A2 | 594mm | 420mm | 40g |
*All above values are approximate only and can value drastically based on the material type and paint/ink used. Inky Winky does not accept responsibility for any decisions made using the above chart.
**Please note that nothing on this page constitutes advice, recommendations or instructions, Inky Winky will not accept responsibility if any guides you follow on this page do not product the intended results.
Note: While every original artwork is different and the nature of original art means we cannot make any assurances about it's dimensions and weight. Inky Winky endeavors to deliver it's artistic prints in a borderless format in line with our pursuit for excellent product. Please consider this when planning your framing.
Method 1: Traditional Wood Frame
The traditional wood frame is a classic framing option for artwork or prints. These frames come in a variety of styles, colors, and finishes to complement any artwork. They are versatile and can be used for any type of artwork or print.
Pros:
- Classic look that can enhance the overall appearance of your artwork
- Durable and long-lasting
- Can be easily customized to suit your preferences
Cons:
- Can be heavy and difficult to hang
- More expensive compared to other framing methods
- Not necessarily ideal for modern or contemporary artwork
How to Frame Using a Traditional Wood Frame:
- Measure your artwork or print to determine the size of the frame you need.
- Choose a frame that complements your artwork or print. Keeping in mind the mat board and if you would like to use it.
- Remove the backing and the glass from the frame.
- Place the artwork or print on the back of the mat and secure it with tape.
- Carefully place the mat with the artwork or print into the frame.
- Secure the backing and the glass to the frame.
If you're not using a mat board, we'd suggest choosing using a spacer around the edge of the inner side of the frame. This won't be as important with acrylic art and prints, but it is important for others like art made with graphite or charcoal.
Method 2: Metal Frame
Metal frames are a popular choice for framing artwork or prints. They come in a variety of colors and finishes and are ideal for contemporary or modern artwork.
Pros:
- Lightweight and easy to hang
- Affordable compared to traditional wood frames
- Ideal for modern or contemporary artwork
Cons:
- Can look industrial or cold for certain types of artwork
- Limited color and finish options compared to traditional wood frames
- Not as durable as traditional wood frames
How to Frame Using a Metal Frame:
- Measure your artwork or print to determine the size of the frame you need.
- Choose a metal frame that complements your artwork or print.
- Remove the backing and the glass from the frame.
- Place the artwork or print on the back of the mat and secure it with tape.
- Carefully place the mat with the artwork or print into the frame.
- Secure the backing and the glass to the frame.
If you're not using a mat board, we'd suggest choosing using a spacer around the edge of the inner side of the frame. This won't be as important with acrylic art and prints, but it is important for others like art made with graphite or charcoal.
Method 3: Acrylic Box Frame
Acrylic box frames are a unique and modern framing option for artwork or prints. They provide a three-dimensional effect and are ideal for artwork with depth.
Pros:
- Provide a modern and unique look to your artwork
- Lightweight and easy to hang
- Ideal for artwork with depth
Cons:
- More expensive compared to other framing methods
- Limited color and finish options compared to traditional wood frames
- Not ideal for artwork that requires UV protection
How to Frame Using an Acrylic Box Frame:
- Measure your artwork or print to determine the size of the frame you need.
- Choose an acrylic box frame that complements your artwork or print.
- Carefully place the artwork or print into the frame.
- Secure the backing to the frame.
Method 4: Gallery Wrap
Gallery wrap is a popular framing option for canvas prints. It involves wrapping the canvas around a wooden frame to create a three-dimensional effect.
Pros:
- Provide a modern and unique look to your canvas print
- No need for a separate frame
- Ideal for canvas prints
Cons:
- Limited to canvas prints only
- Not ideal for artwork that requires UV protection
- The edges of the print may be cropped
How to Frame Using a Gallery Wrap:
- Choose a gallery wrap canvas print that fits your preferences and needs.
- Make sure the canvas is tightly stretched over the wooden frame.
- Secure the canvas to the frame using staples or tacks.
- Hang the canvas using a wire or hanging hardware attached to the back of the frame.
Method 5: Floater Frame
Floater frames are a modern and unique framing option for canvas prints. They are designed to make the canvas appear to be floating within the frame.
Pros:
- Provide a modern and unique look to your canvas print
- No need for a separate frame
- Ideal for canvas prints
Cons:
- More expensive compared to other framing methods
- Limited to canvas prints only
- Not ideal for artwork that requires UV protection
How to Frame Using a Floater Frame:
- Choose a floater frame that complements your canvas print.
- Place the canvas in the frame so that it appears to be floating within the frame.
- Secure the canvas to the frame using screws or brackets.
- Hang the canvas using a wire or hanging hardware attached to the back of the frame.
Method 6: DIY Frame
A DIY frame is a cost-effective framing option that allows you to create a customized frame for your artwork or print. This method involves purchasing framing materials and assembling the frame yourself.
Pros:
- Cost-effective compared to other framing methods
- Fully customizable to suit your preferences
- Ideal for artwork or prints of non-standard sizes
Cons:
- Requires more time and effort compared to other framing methods
- Not as durable as other framing methods
- Can be challenging for those with limited DIY experience and not recommended for beginners
How to Frame Using a DIY Frame:
- Purchase framing materials such as wood, glass, backing, and mounting hardware.
- Cut the framing materials to the desired size.
- Assemble the frame using nails or screws.
- Place the artwork or print inside the frame and secure it using mounting hardware.
- Add the backing and glass to the frame.
Framing your artwork or prints is an important step in enhancing their overall appearance and protecting them from damage. When choosing a framing method, consider the pros and cons of each method as well as the needs of your artwork or print. By selecting the right framing method and following the instructions, you can create a beautiful display for your artwork or prints that will last for years to come.


